DIY Easter eggs: how to jazz up your decorated eggs
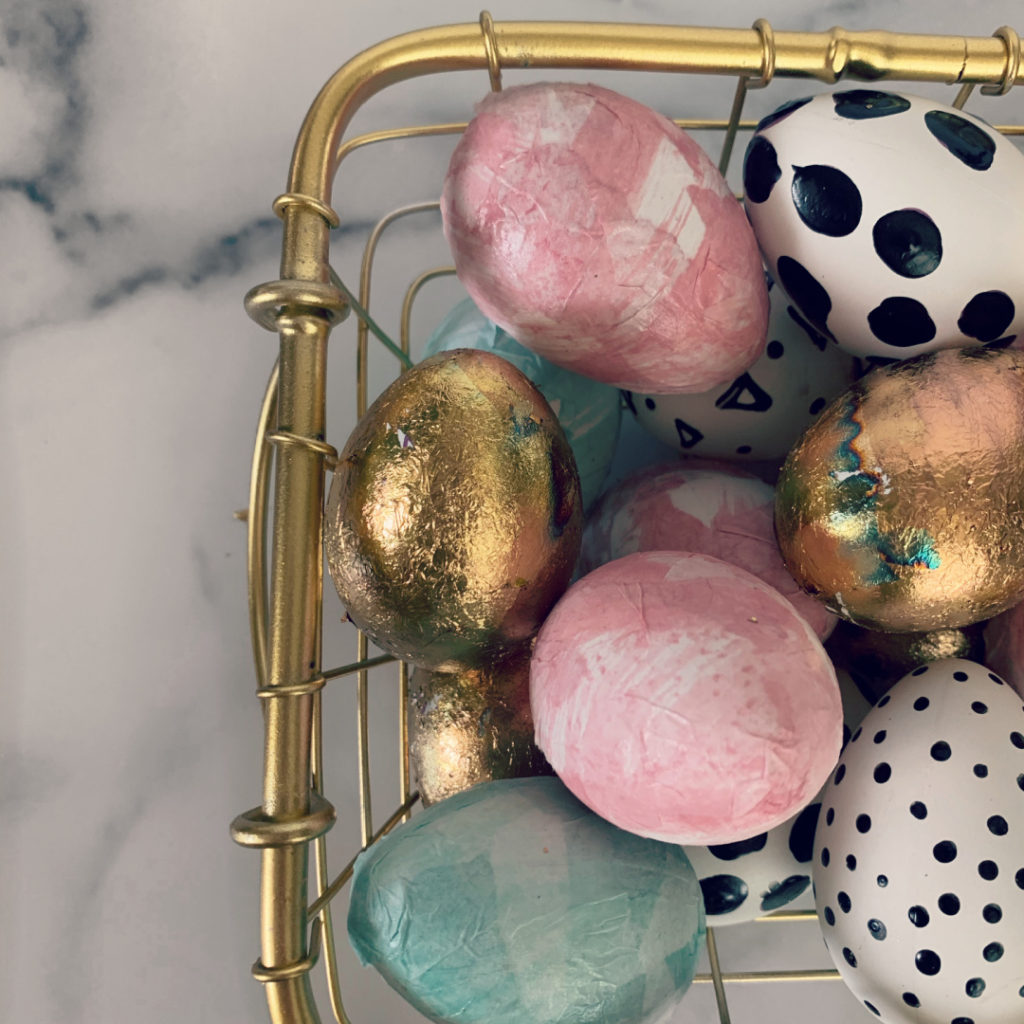
So here’s the thing, would I be a horrible person if I said I didn’t love pastel colors when it comes to my home decor? Don’t get me wrong, I have some pastel colors sprinkled throughout because, well, Easter is upon us, but its very minimal. Over the years, my decor style has gravitated towards muted neutrals, black and gold.
When I went to unpack my spring decor a few weeks ago, I found that I had a lot of outdated Easter decor that just didn’t fit my home’s aesthetic anymore. Total bummer because the last thing I wanted to do was to overhaul my Easter decor, so I decided to get a little creative.
To Pinterest I went.
I searched for “modern easter decor” and “gold easter eggs” because, why not?
The search results were less than ideal. It was the usual, blue, green, yellow and pink hues coupled with designs that just didn’t work for what I had in mind.
Right before I was about to give it and throw in proverbial towel, there it was, a fellow blogger had made these very creative DIY easter eggs that were decorated for the modern palette. To say I loved them was an understatement, they legit made my eyes happy just looking at them. The rose gold, paired with a chic black polka dot and few pops of color mixed throughout, was just what I was looking for.
Remember, I don’t hate color, I just don’t like to go overboard with it when it comes to my decor.
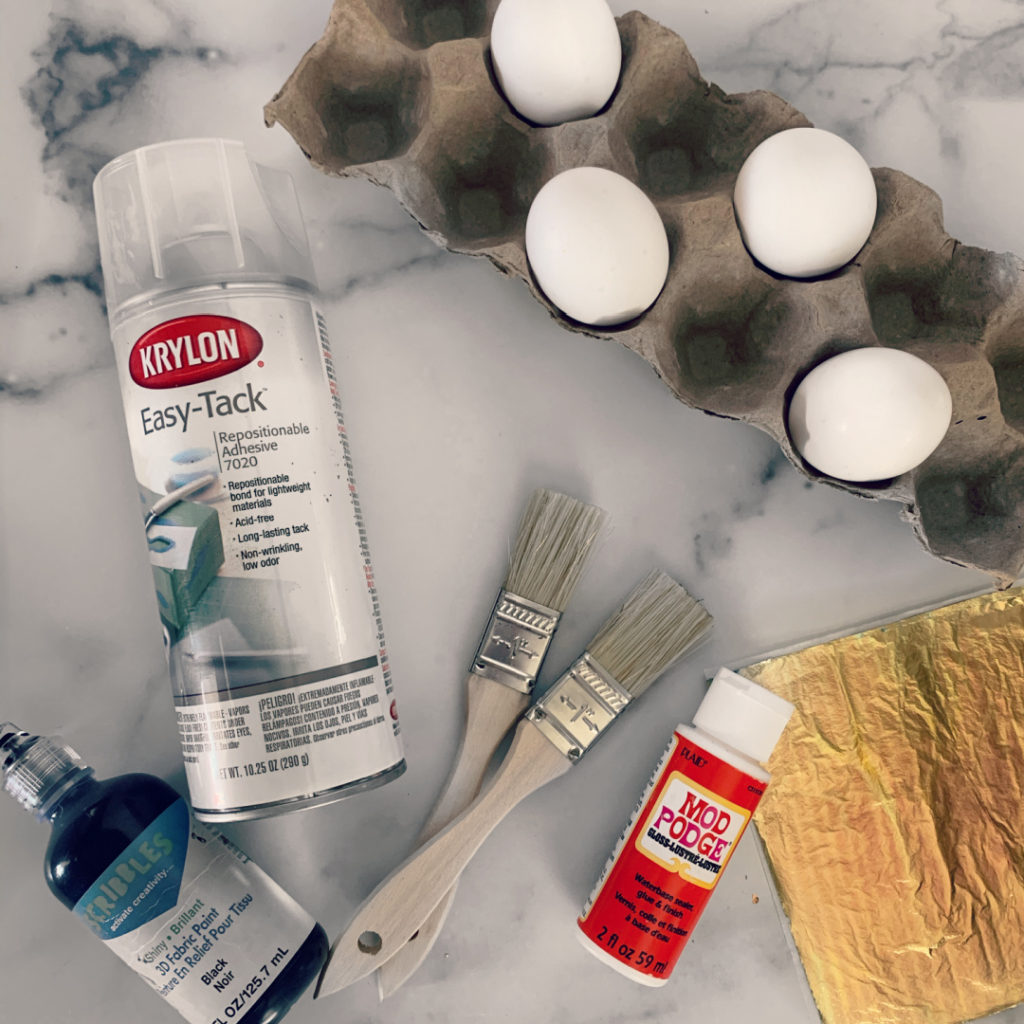
I got right to it, first setting out on a mission to find what I needed to re-create these diy easter eggs.
here’s the breakdown:
♥ Faux eggs – I recommend using these if you want to re-use your eggs year after year, which you’ll want to do.
♥ Gold leaf – It’s like super thin aluminum foil, but its gold, and very thin. I’ve included the link that gives you options for gold, rose gold and silver
♥ Krylon Easy-Tack spray adhesive
♥ Acrylic paint – I chose a Tiffany blue color and a dusty rose
Ready to dive in?
I’m not going to lie, this DIY easter egg project is a little time-intensive. Don’t let that deter you though. The end result is totally worth it.
Here’s some tips for your DIY easter eggs:
- Put down lots of newspaper to protect your surfaces
- Start with your polka dot eggs first. Since you have to let each side dry before completing the other side, this should be the first thing you start decorating
- Keep one paint brush designated for your gold eggs – I’ll tell you why soon
- Use a tapered candlestick holder to rest your egg on while you paint your polka dot eggs
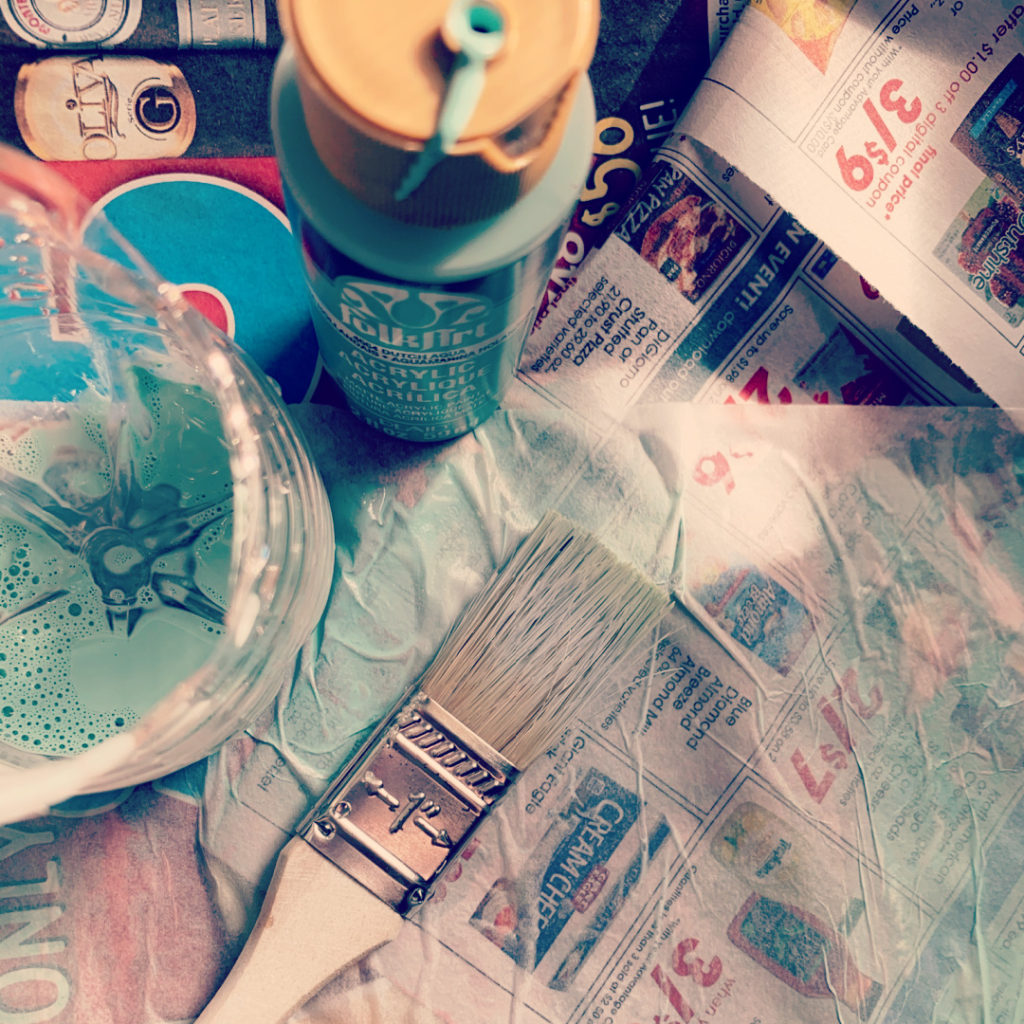
Step 1: Lay out your newspaper
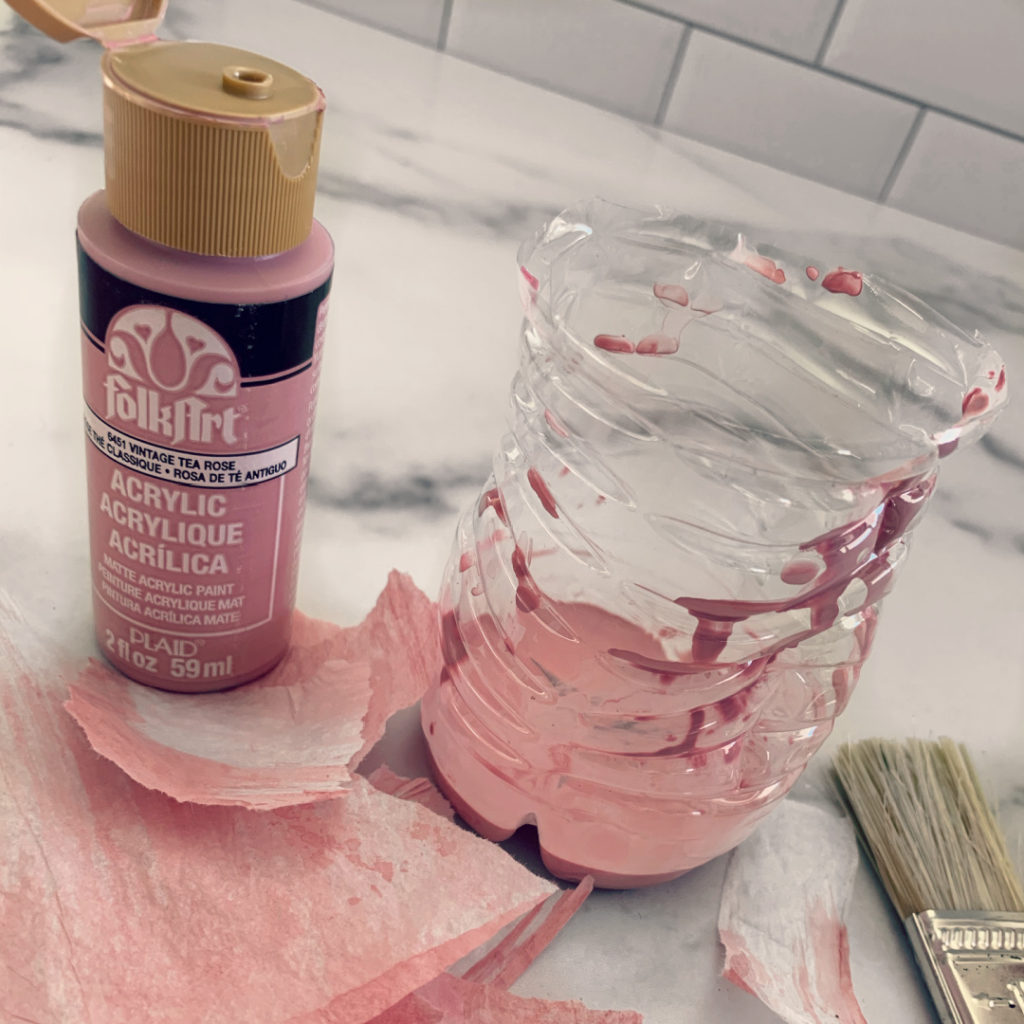
Step 2: Mix a small amount of your colored acrylic paint with water to soften the intensity. Once watered down, lay your tissue paper out and lightly brush your paint mixture atop the tissue paper.
Step 3: Once the tissue paper is painted, lay it out to dry – {Quick tip: flip a laundry basket upside down and place the painted paper on top to dry.}
Step 4: Once your tissue paper is dry, rip up into pieces and set aside.
Step 5: Begin painting your polka dot eggs. Get creative. I made some with lines and others with polka dots.
Step 6: While you let the polka dot eggs dry, start your gold eggs
Step 7: On a separate piece of newspaper, take your faux egg and lightly spray it with your Easy-Tack adhesive.
Step 8: Let the adhesive sit for 10 minutes. The Easy-Tack does not fully dry for quite a while. The reason you want to let it dry is that if not, your gold leaf will tear apart and flake off.
Step 9: Once your egg feels tacky, delicately place a sheet of gold leaf on your egg. Take a clean brush and lightly sweep it over the gold leaf to ensure it is in tact.
Step 10: Repeat this step for as many gold eggs as you prefer.
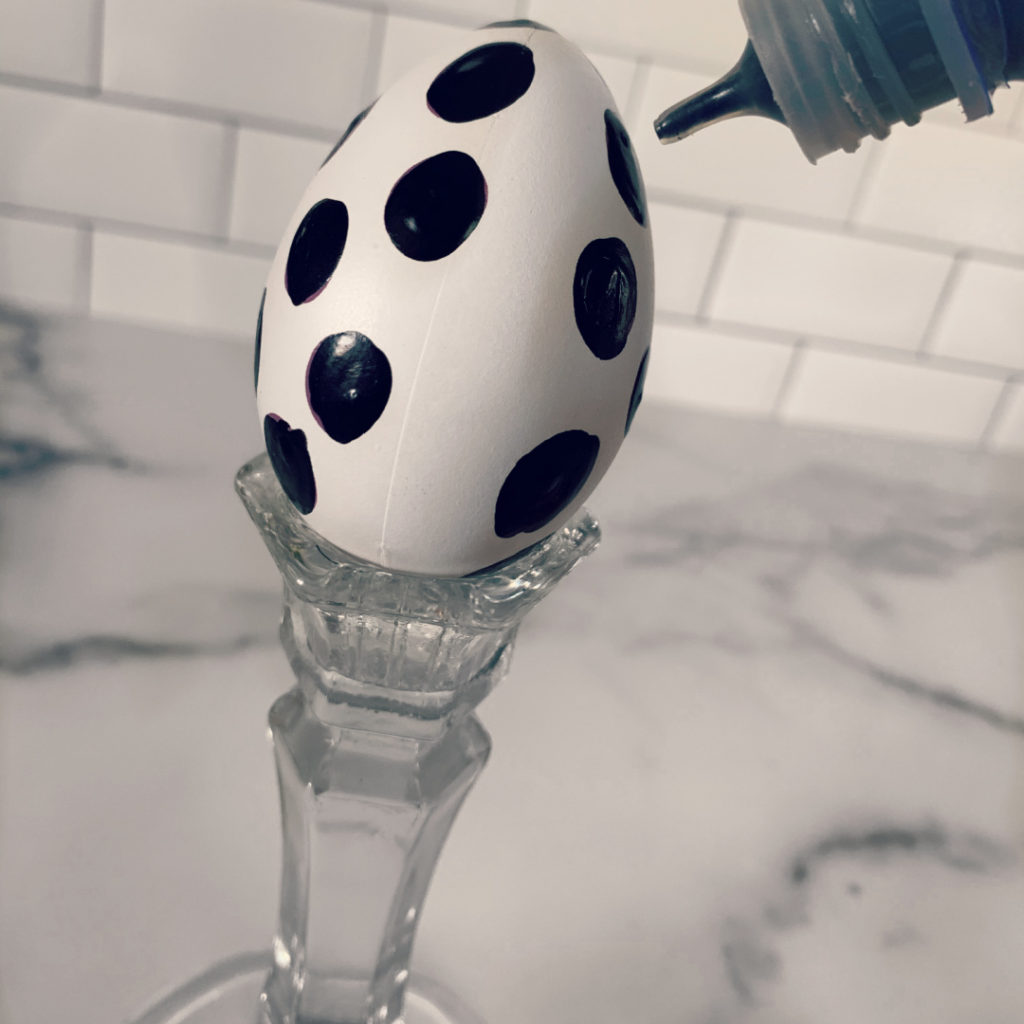
Step 11: Moving to the paper mache eggs, take your mod podge and paint it on a new faux egg, let it dry slightly and then begin adding and layering your painted tissue paper on your egg.
Step 12: Repeat this process until your egg has a marble-like look. Let dry completely.
Step 13: Find a cute basket to display your new, modern DIY easter eggs, and voila!
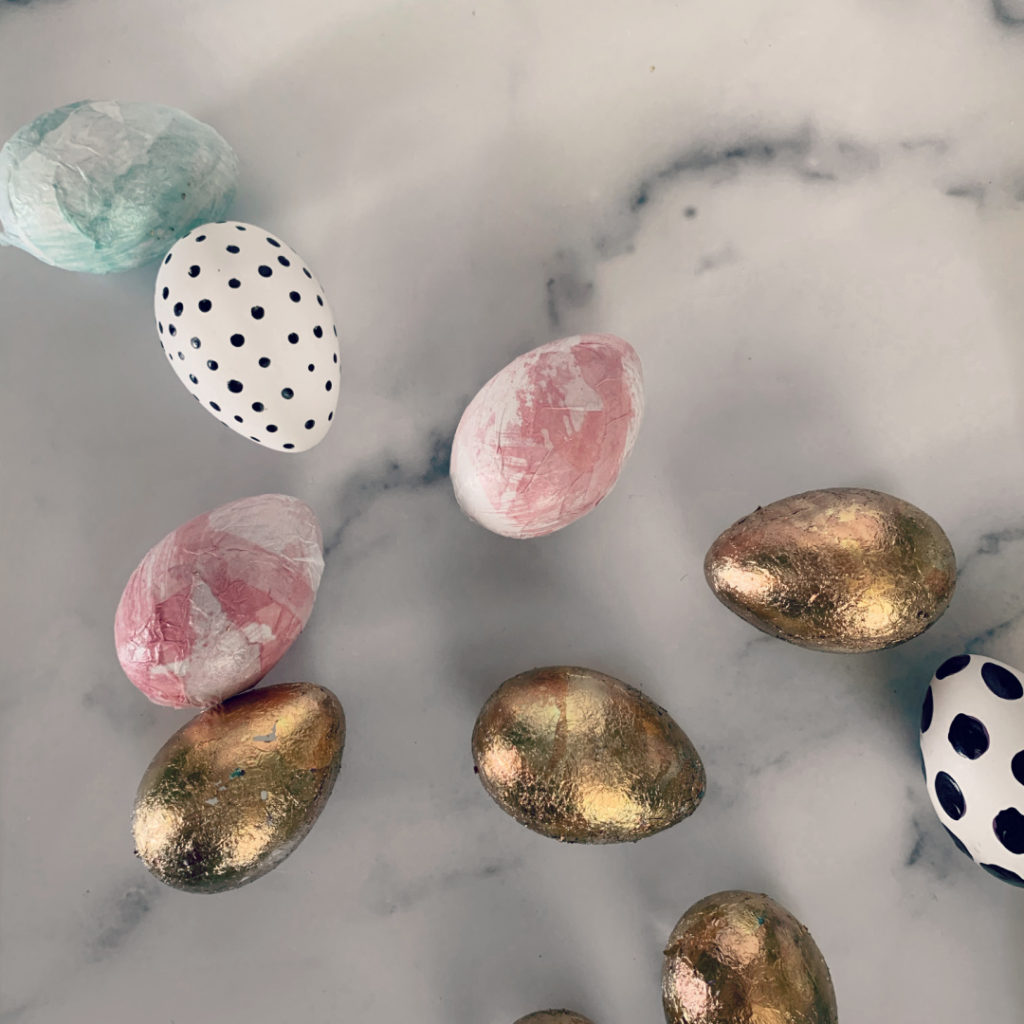
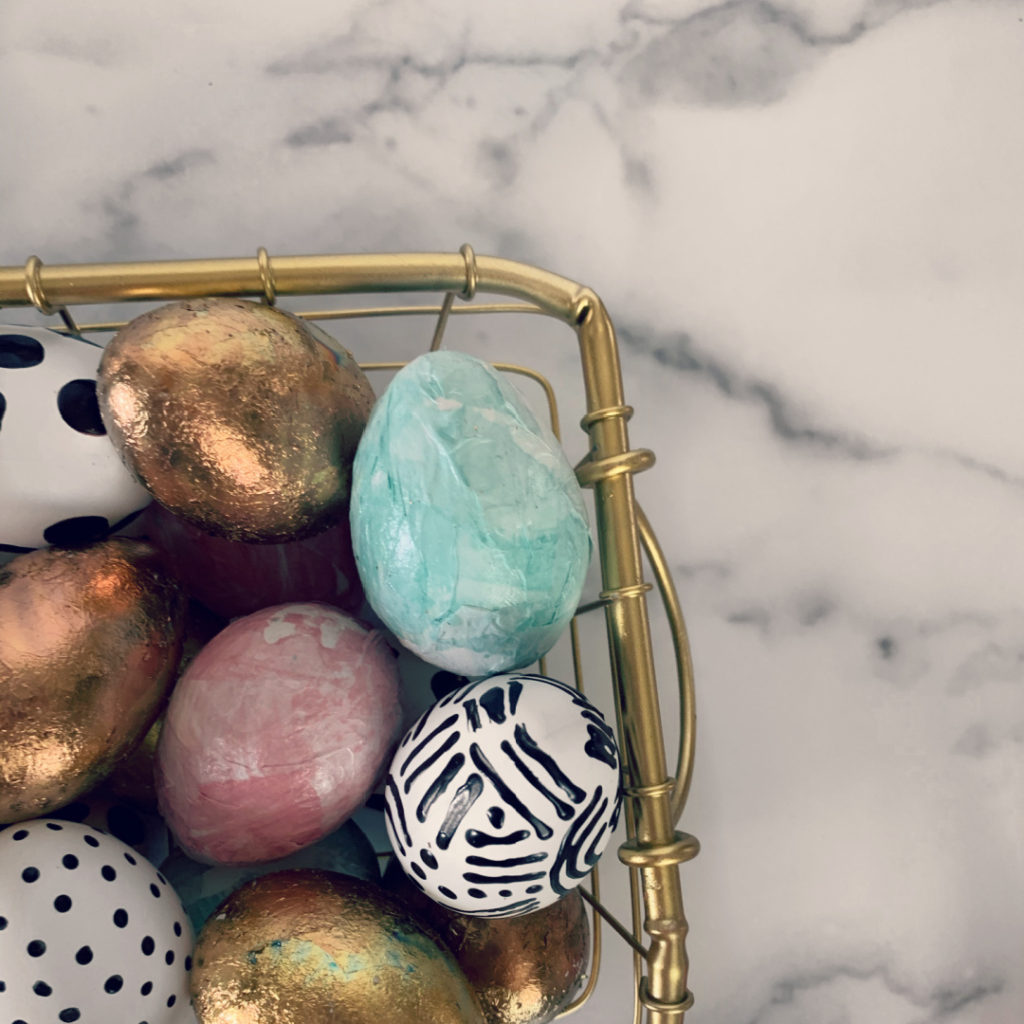
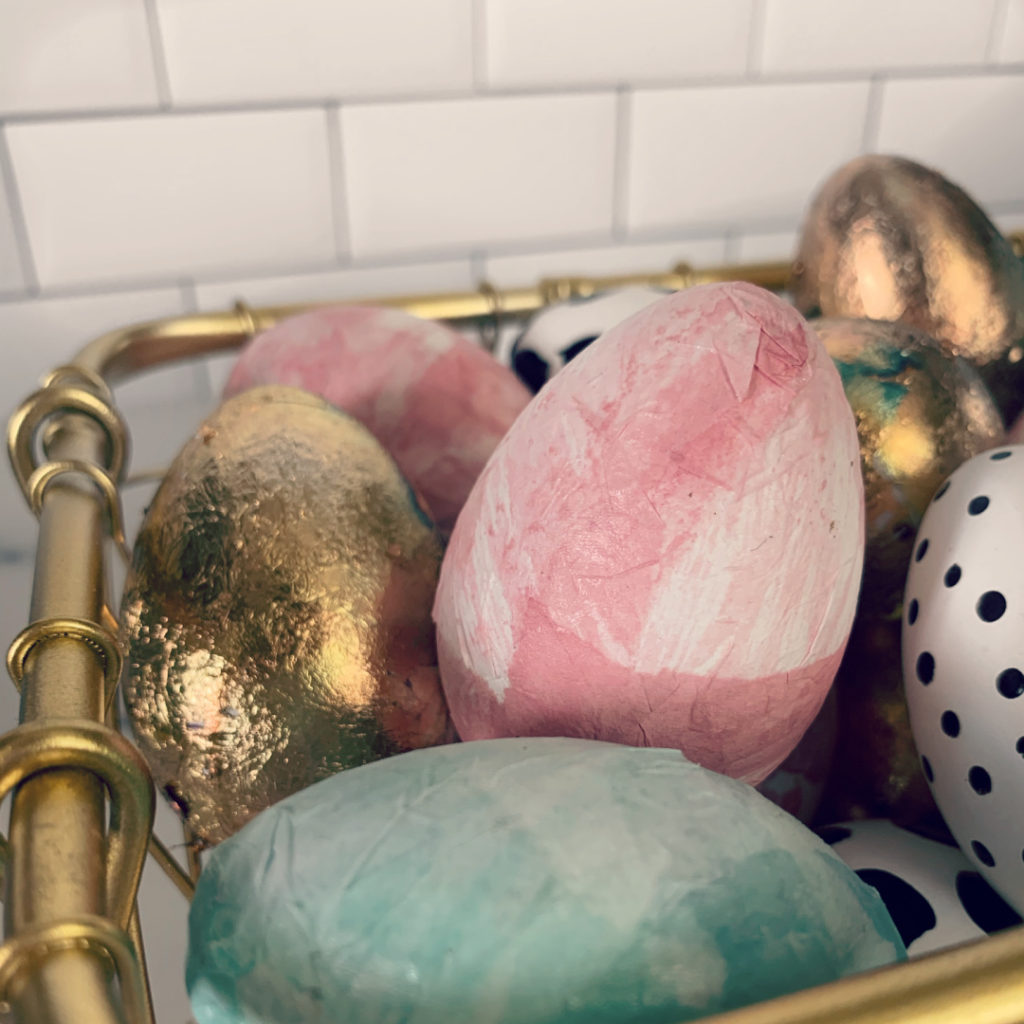

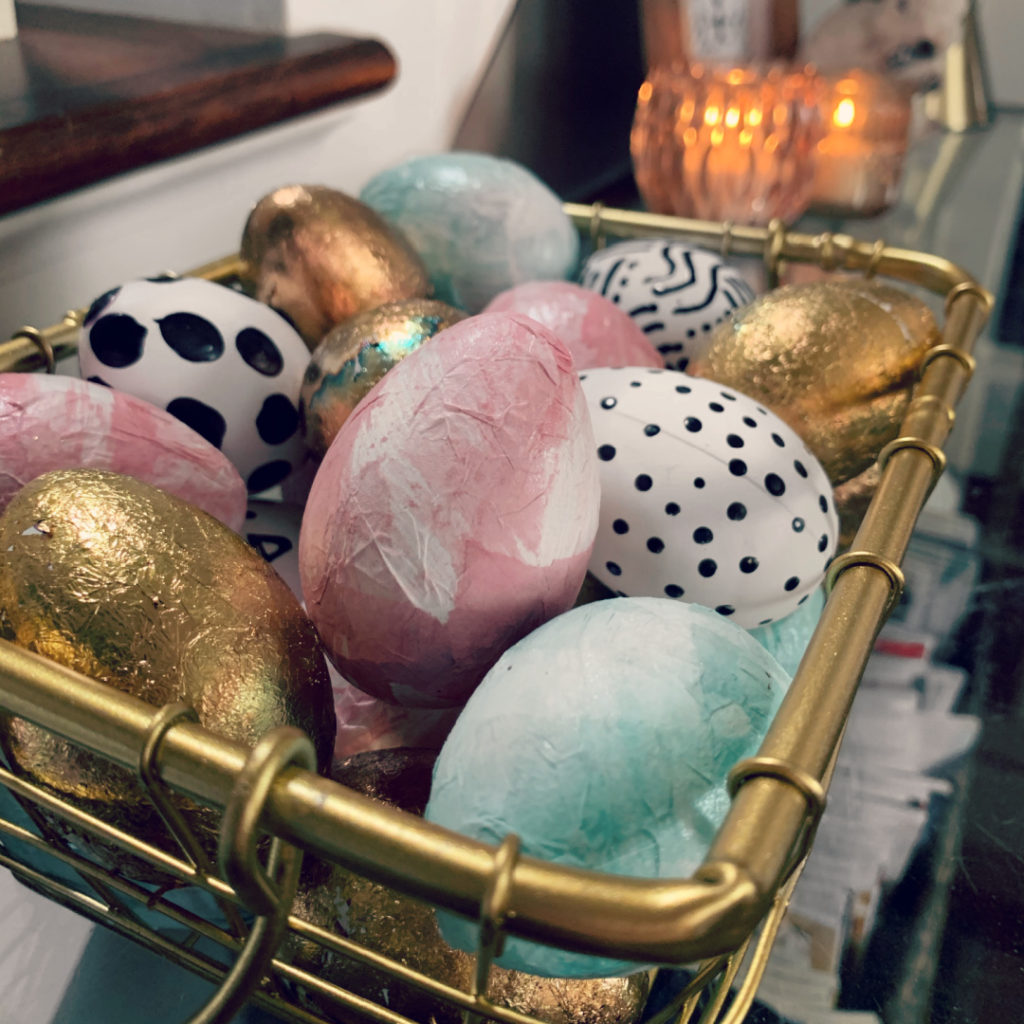
Okay, tell me…how chic do these eggs look? I love the pops of gold along side the black and white polka dots and the marbleized paper mache eggs. I am so glad I chose to go with faux eggs for this project so I can enjoy these beauties year after year.
Now, it’s your turn to go be creative. Tag me on IG (@marie_ruskin) if you make some for yourself. I’d love to see what ideas you come up with.
♥ Speaking of cool easter egg ideas, these deviled eggs are the festive pop you need for Easter dinner
♥ Pastels + leopard print and how you can make it work
♥ This easter-themed centerpiece would be perfect for your family dinner
