


Spring Cleaning, But Without the Overwhelm: A 7-Day Refresh You’ll Actually Enjoy
If you’re anything like me, overwhelm is basically a daily vocabulary word. Trust me, I’m working on it—because feeling stretched thin is not exactly my vibe. But let’s be real—as a mom of a toddler juggling a 9-5 and a 5-9, some days, overwhelmed is the only word that fits. Still, I’m on a mission to shake that feeling and find small, effortless ways to bring a little more ease into my everyday life. Once I crack the code, you know I’ll spill all my secrets.
In the meantime, though, I’ve got a little hack I’m adding to my spring cleaning routine this year—something simple, doable, and, most importantly, not overwhelming. Enter: The 7-Day Spring Refresh. One small task a day, no marathon cleaning sessions required. It’s my way of easing into a thorough spring cleaning without all the stress. Let’s dive in!
Day 1: Declutter One High-Traffic Area

Let’s kick off this spring cleaning refresh by tackling one high-traffic area in your home. Think about where clutter builds up the fastest—your kitchen counters, entryway, dining table, or desk. For me, it’s all of these, but alas, we’re focusing on just one. These spots can quickly turn into drop zones for mail, keys, and all the random things that don’t have a proper home.
Declutter with Intention
Start with a 10-minute reset—set a timer and remove anything that doesn’t belong. I love this method because I enjoy a little competition with myself. I like to see how much I can get done in that short time.
The one-touch rule: If you pick something up, put it in its correct place immediately. No setting it down somewhere else for “later.”
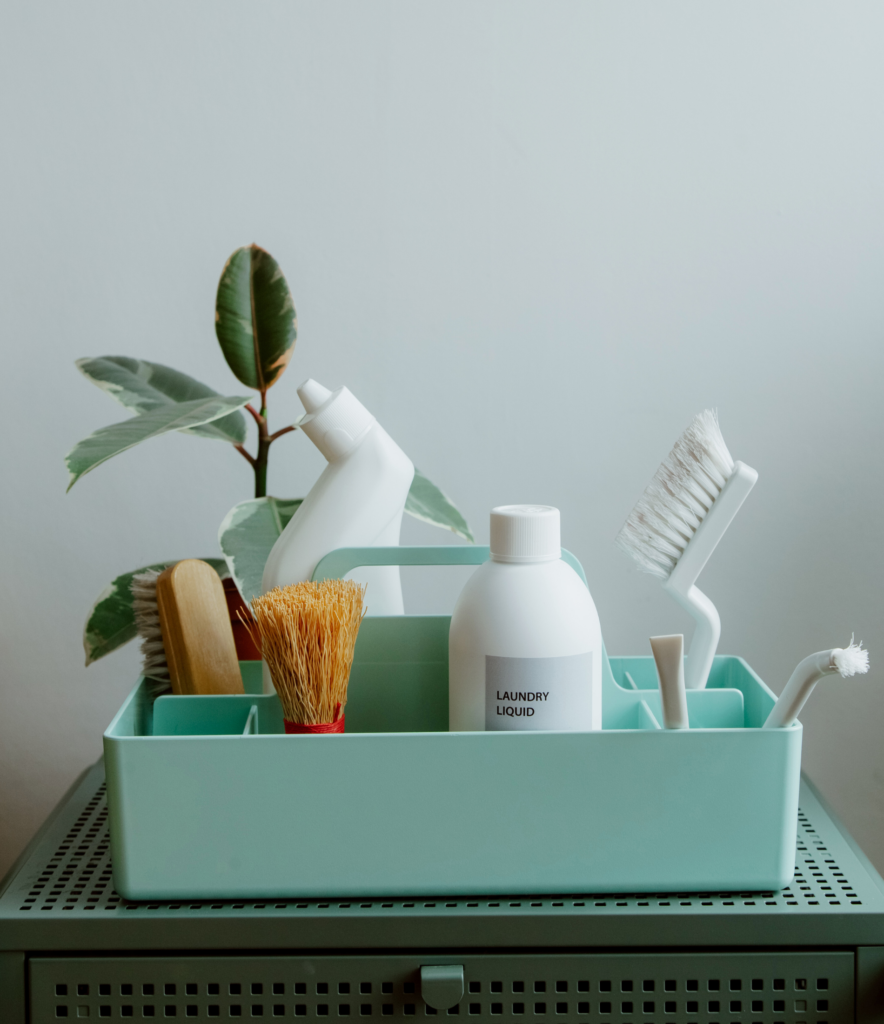
Use chic storage solutions like decorative trays, baskets, or wall hooks to keep frequently used items neat yet accessible. This is such an easy spring cleaning hack because you can repurpose old bins or boxes to organize similar items into one tidy space. For a budget-friendly option, visit the DollarTree or your local thrift store for affordable choices.
Wipe Down & Refresh (The All-Natural Way!)
Once the surface is clutter-free, it’s time to make it sparkle with a few simple, non-toxic cleaning tricks. Lately, I’ve been exploring safer, cleaner alternatives for my family and pets, and the good news? You don’t need a cabinet full of specialty products to get the job done. With just a few basic ingredients, you can create your own effective (and budget-friendly) cleaning solutions. Here’s how:
DIY All-Purpose Cleaner:
1 cup white vinegar
1 cup water
1 tablespoon baking soda
10 drops lemon or orange essential oil (for a fresh scent!)
Mix in a spray bottle and use on countertops, tables, and other hard surfaces.
Wood Surface Refresh:
Mix 1/4 cup olive oil + 1/4 cup white vinegar + 10 drops of lemon oil for a natural wood polish.
Apply with a soft cloth to revive dull wood surfaces.
Natural Air Purifier:
Place a small bowl of baking soda on counters to absorb lingering odors.
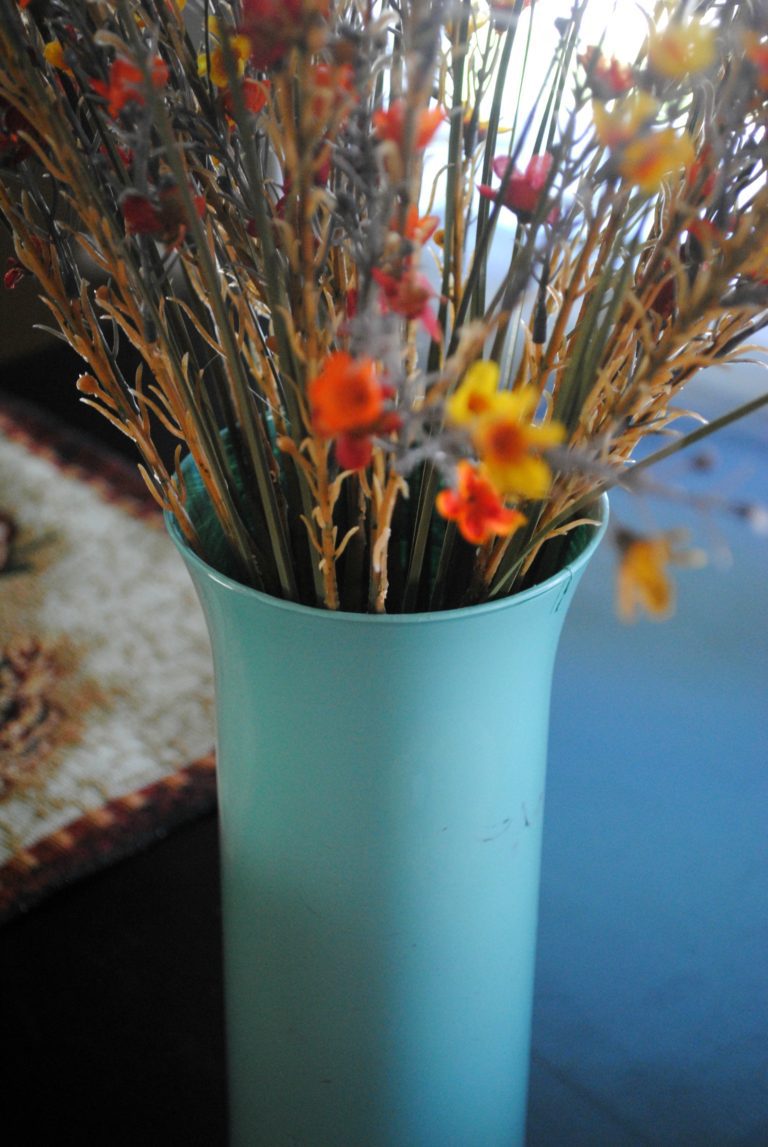
Add fresh eucalyptus or a few sprigs of rosemary in a vase for a subtle, clean scent.

Keep It Clutter-Free
Implement a one-minute tidy rule—before leaving the area, do a quick scan and put away anything out of place.
Try a “drop zone” basket: If clutter tends to pile up in the same spot (hello, keys, and sunglasses!), designate a stylish bowl or tray to keep it contained. Now let me know your tips for how to get your significant other to actually utilize this!
Label a donation box or tote bag nearby to easily toss items you no longer need throughout the week. Once you head out, stop by the donation center to drop off those items.
By the end of Day 1, your space will already feel lighter and more energized, ready for the next step in your spring cleaning journey.rganized. Now, onto Day 2—refreshing those soft furnishings!
Day 2: Refresh Soft Furnishings
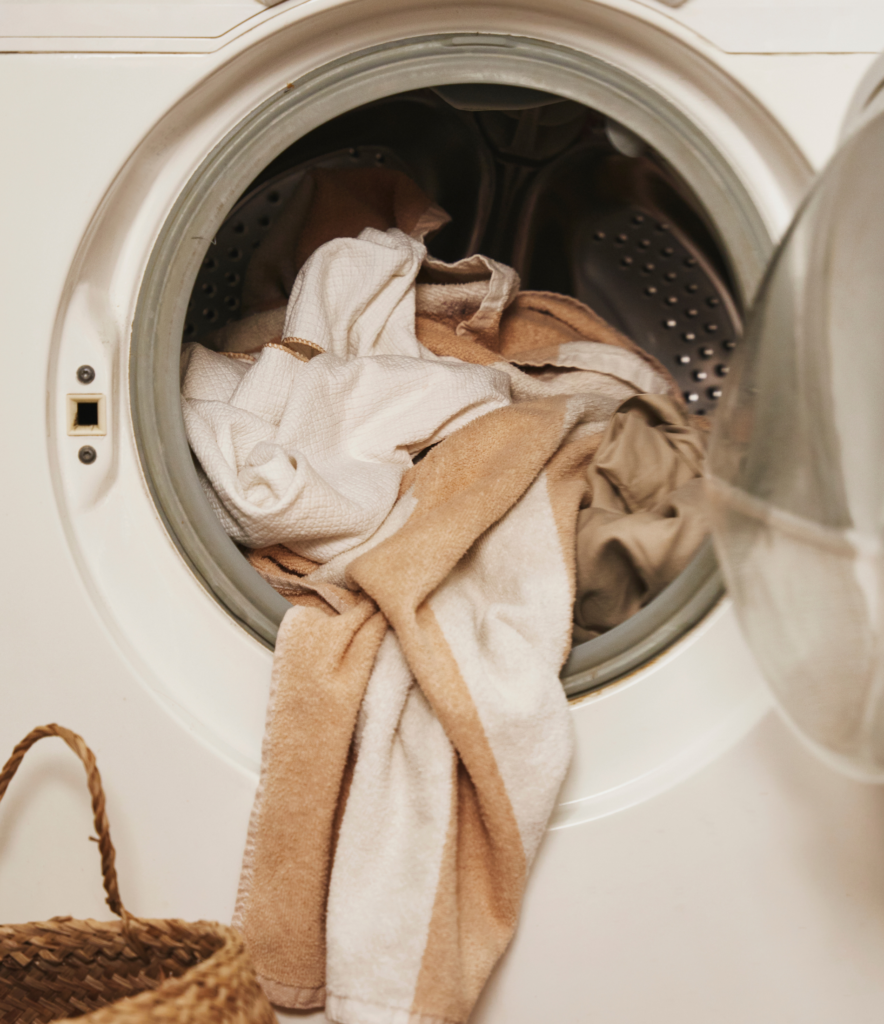
Nothing says a spring cleaning refresh quite like swapping out your heavier, cozier blankets and linens for lighter fabrics and patterns. Crisp, clean fabrics feel so refreshing after months of cozying up under heavy blankets, so it’s time to breathe new life into your space—literally. Swapping out winter textures for lighter, airier fabrics instantly makes your home feel fresher and brighter.
Plus, a quick wash of your most-used soft furnishings (think throw blankets, pillowcases, and couch covers) during your spring cleaning routine can work wonders in removing dust, pet dander, and that stale winter air. Bonus points if you use a lavender or citrus-scented detergent—it’s like bottling up that fresh spring feeling.
Day 3: Wipe Down Forgotten Spots
Okay, let’s talk about those “forgotten” spots, because girl, I had a moment the other day when I caught a glimpse of one of my light switches—and let’s just say it was way overdue for a little TLC. We all have those areas we pass by every day, the ones we kind of forget about in the day-to-day shuffle. But those are the spots that really need some attention when it comes to spring cleaning. They might not always be top of mind, but trust me, once you clean them up, you’ll feel a whole new level of satisfaction.
Here are the obvious areas, plus a few you might not think of during your spring cleaning routine:
- Light Switches & Door Handles – These are prime real estate for grime and germs, especially since we touch them multiple times a day. A quick wipe-down will make a huge difference in making your home feel extra fresh.
- Remote Controls & Phone Screens – Think about how often we’re handling these! Dust, fingerprints, and, let’s be honest, some mystery crumbs get all over them. A disinfectant wipe is a total game-changer for these everyday items.
- Baseboards & Air Vents – These are the spots that often get overlooked during regular cleaning sessions. They may not be in your direct line of sight, but dust and dirt definitely like to settle in these areas, so give them some attention during your spring cleaning refresh.
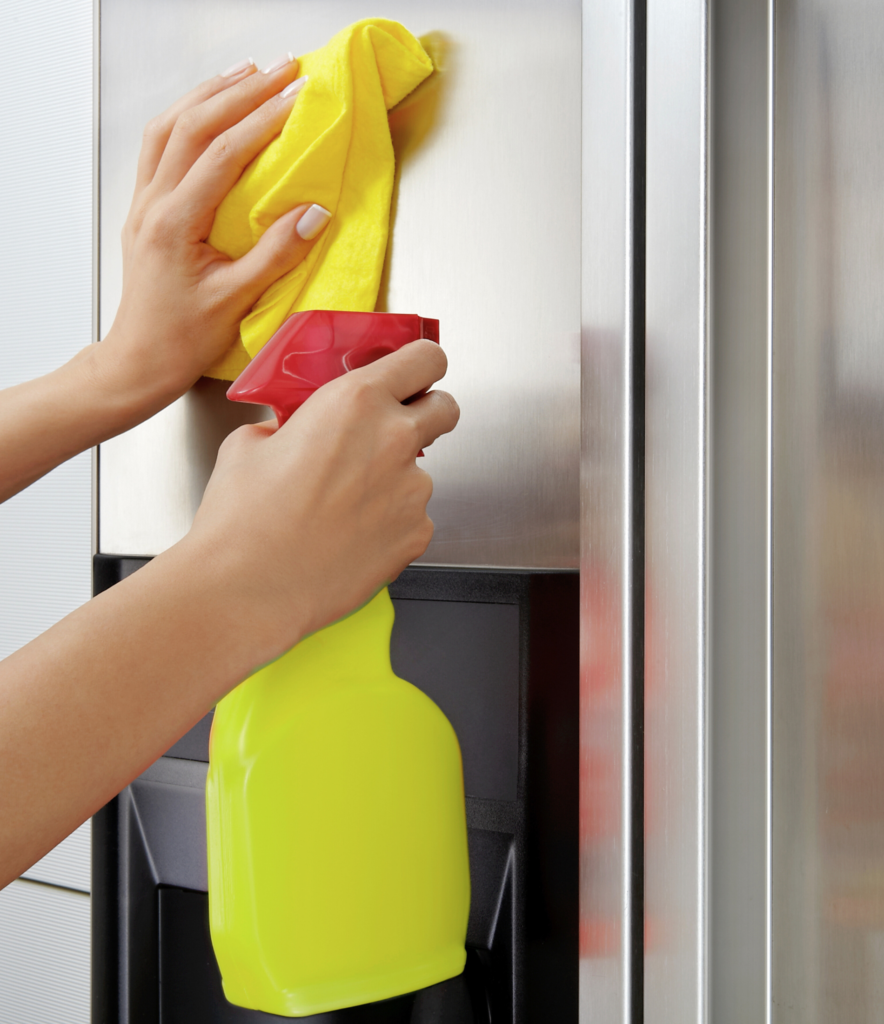
- Front of Appliances & Inside the Microwave – It’s easy to forget the front of your fridge, dishwasher, and oven when you’re cleaning, but fingerprints, spills, and splatters accumulate quickly. And that microwave? The inside can get wild if it’s not cleaned regularly. A deep clean here is totally worth it during your spring refresh.
- Lampshades & Ceiling Fans – These areas can gather dust without us even realizing. Take a moment to wipe down your lampshades and clean off your ceiling fans—these little touches can make your space feel so much brighter and fresher.
- Windowsills – While you’re wiping down your windows, don’t forget the sills! They can collect dust, pollen, and sometimes even cobwebs. A quick cleaning here will make your windows sparkle even more, giving your home that fresh spring vibe.
By hitting these often-forgotten spots, your home will feel even more refreshed and sparkling during your spring cleaning. Plus, you’ll be amazed at how much cleaner your space feels once you’ve tackled these areas!
Day 4: Organize One Drawer or Cabinet
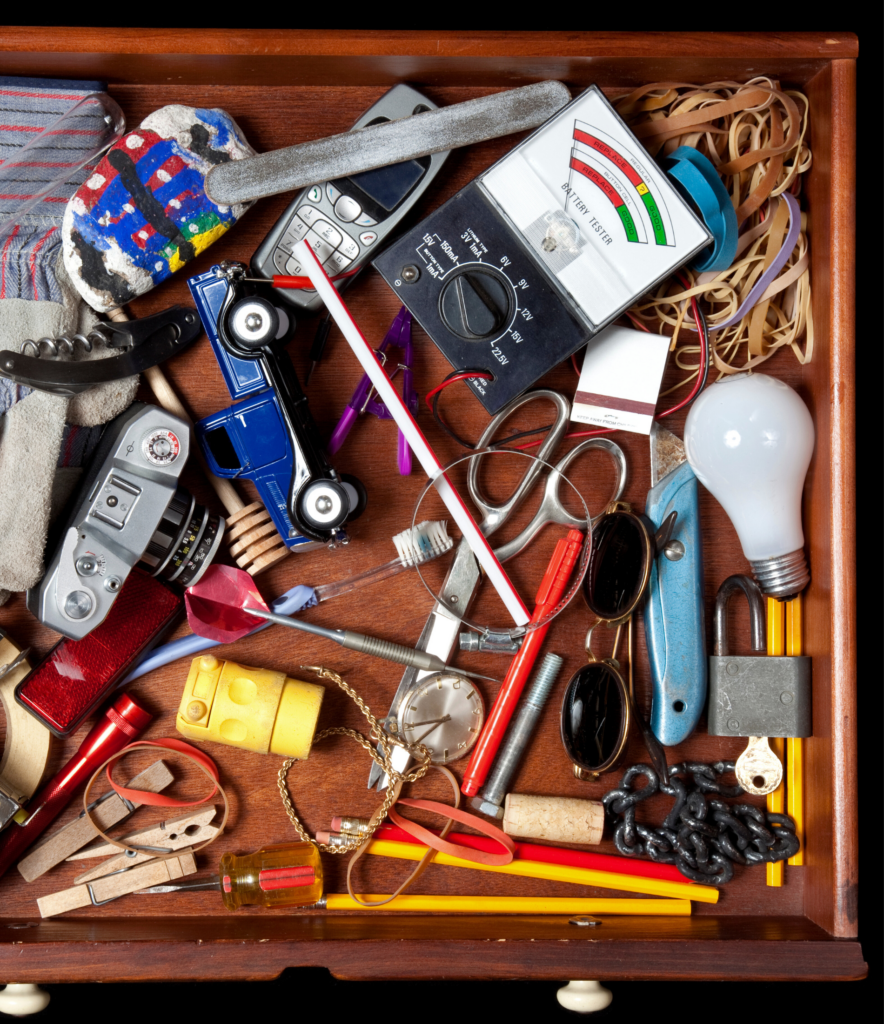
By now, your home is already feeling lighter and fresher after your spring cleaning efforts—but let’s talk about those hidden clutter zones. You know the ones: the junk drawer that barely closes, the Tupperware cabinet that’s a game of Jenga, or the bathroom vanity overflowing with half-used products. Instead of tackling everything at once, just pick one spot that’s been driving you crazy. A few minutes of decluttering now during your spring cleaning can save you so much frustration later. Here are some of my tried and true hacks you have to try.
- The Toss Test: If you haven’t used it in the last six months (or didn’t even remember you had it), it’s time to let it go.
- Use the “Like with Like” Rule: Group similar items together—chargers with chargers, pens with pens, lids with their matching containers.
- Invest in Simple Organizers: Drawer dividers, acrylic trays, or even small baskets can help keep things from turning into a cluttered mess again. Budget hack: your old iPhone box you can’t seem to part with makes the perfect desk organizer for small objects–and its sustainable too!
- The Two-Minute Rule: If a task takes less than two minutes (like tossing old receipts or matching your Tupperware lids), do it right now.
- Label, Label, Label: If you share a space with others, or need your stuff to be marked as such, labels make it crystal clear where things belong—no more searching. I shared my affinity for my label maker, here, in case you were wondering which one I love!
Day 5: Deep Clean Floors & Rugs
There’s just something about freshly cleaned floors that instantly makes a space feel lighter, fresher, and way less chaotic. It’s honestly one of my favorite spring cleaning tasks because once all that dust, dirt, and mystery crumbs (thanks, Gisele) are gone, the whole place just feels better. A deep floor refresh isn’t just about looks—it’s about setting the vibe for a calm, clean space from the ground up.
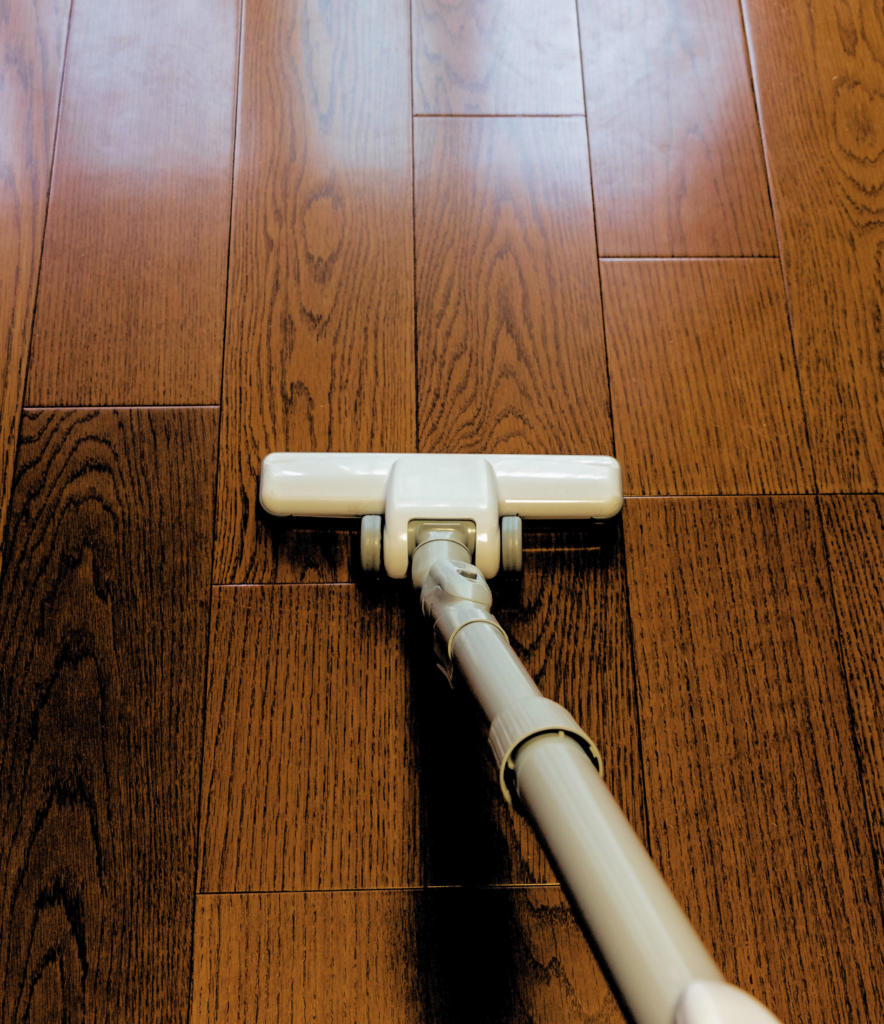
Here’s how I get that fresh floor feeling during my spring cleaning:
Vacuum and mop high-traffic areas – Focus on the spots that get the most action—your entryway, kitchen, and living room. If you have rugs, give them a good vacuum to pull up all the trapped dirt and pet hair (because let’s be real, it’s in there).
Deodorize and refresh rugs – Sprinkle a mix of baking soda + a few drops of essential oil (think lavender, lemon, or eucalyptus) over rugs and carpets. Let it sit for 15-20 minutes, then vacuum it up. Boom—instant fresh factor.

Flip or rotate rugs – Keep them looking newer longer by switching up their position. This helps prevent uneven wear and extends their life, so you’re not dealing with one sad, worn-out patch in the middle.
Bonus tip: If you have hardwood or tile, a quick pass with a damp mop and a DIY cleaner (warm water + a splash of vinegar + a drop of dish soap) will leave your floors looking and feeling spotless—making your entire home feel even more refreshed with your spring cleaning efforts.no harsh chemicals needed.
Day 6: Swap Out Seasonal Items

Another effortless spring cleaning hack is simply refreshing your decor for lighter touches—think florals, pastel accents, or airy fabrics. It’s amazing how fresh and clean your space can feel with a simple decor swap of your seasonal items and textiles.
Here’s a few specific items I like to swap out with the change of each season:
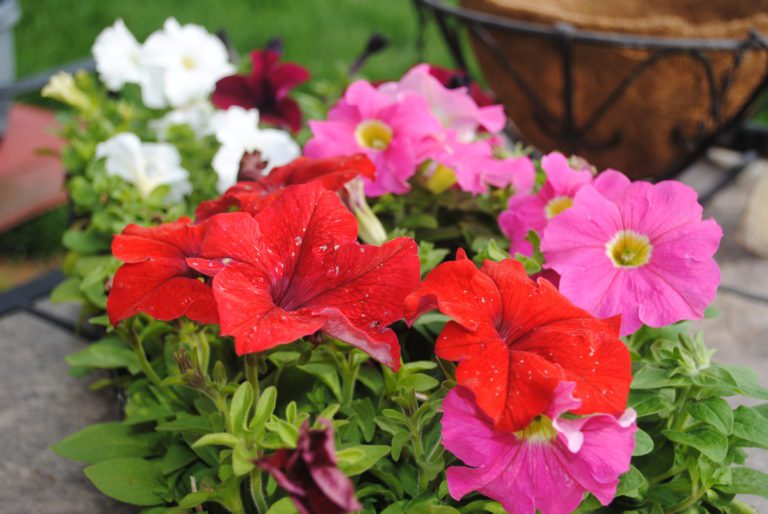
- swap out florals and stems–I decorate with evergreen and eucalyptus in the winter but come spring, I’m reaching for floral budded stems, cherry blossoms, tulips and baby’s breath.
- Swap pillow cases and throw blankets for different patterns, textures, and colors.
- Brighten your front porch with simple outdoor wreath swaps with the change of season.
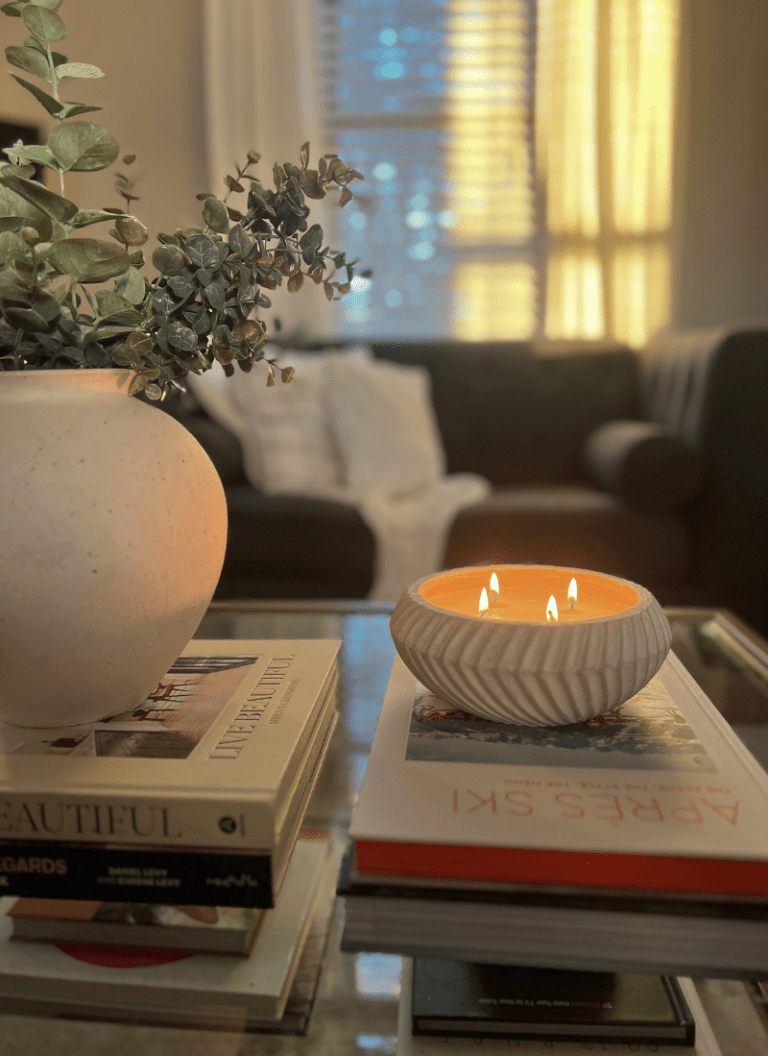
- Replace your warm, cozy candles with soft spring scents–I love lemon, lavender, and honeysuckle for spring.
Day 7: Add a Fresh Scent to Your Home

Speaking of scents and candles, that brings me to the final step in the 7-day spring cleaning refresh—infusing your home with fresh, invigorating aromas. When it comes to freshening up my space, I’m all about candles, wallflowers, and simmer pots. I love rotating between these, especially with different scents each season, so things don’t get too overwhelming for the senses. I usually stick to a few themes that align with the season’s vibe, keeping the atmosphere light and inviting. Here are a few of my go-to tips for creating a soft, refreshed feeling that lingers throughout your home:
- DIY Stovetop Simmer Pots – One of my favorite ways to fill the house with an irresistible scent is by simmering a pot on the stove. For spring, I love combining lemon slices, rosemary, and vanilla for a cozy, fresh fragrance that truly embodies the season. Not only does it make your home smell like a garden in bloom, but it also adds a touch of warmth and comfort.
- Diffuse Essential Oils – If you want to boost your home’s mood and create an uplifting environment, diffusing essential oils is a must. I gravitate toward grapefruit, eucalyptus, or lavender to get that light, clean scent that fills the room without being overpowering. It’s a perfect, simple way to bring spring into your space.
- Open the Windows for Fresh Air – Sometimes, nature does the job best. There’s nothing like opening up the windows and letting that fresh outdoor air sweep through your home—it’s the ultimate natural air freshener. Plus, it’s a great way to reset the space, letting out any stagnant air while inviting in a breath of fresh spring air.
- Scented Sachets for Subtle Freshness – For those hidden corners or spaces like drawers and closets, I love using scented sachets. They’re an easy and subtle way to introduce a soft fragrance wherever you need it. You can fill them with dried lavender, rose petals, or even chamomile for a calming, floral aroma.
- Baking Soda & Essential Oils for Extra Freshness – For a double dose of freshness, I like to sprinkle a little baking soda in my trash bins or even on my carpets. Then, I add a few drops of my favorite essential oils. It absorbs unwanted odors while releasing a soft, refreshing scent, leaving your home smelling as fresh as a spring breeze.
- Wooden Wick Candles for a Cozy Touch – If you love the crackling sound of a fire, wooden wick candles are a perfect choice. The soothing sound combined with clean scents like jasmine, cotton, or even a light citrus creates an inviting atmosphere. These candles don’t just smell great—they add an extra layer of warmth and ambiance.
And just like that, you’ve tackled a whole spring refresh without the stress and overwhelm. If you’re anything like me, it might take a few extra days—and that’s totally fine. The goal here isn’t perfection; it’s about making this feel doable, not like another thing on your never-ending to-do list. That’s the whole vibe of this blog and my content—finding ways to feel like the best version of yourself while juggling all the other responsibilities life throws at you.
I hope you found some tips and tricks that you can carry into each new season. I know I’ll be making this a seasonal thing to keep my space feeling fresh year-round. So tell me—which of these are you tackling first? Drop your thoughts (and any other spring cleaning hacks) in the comments—I live for a good tip!
♥ Just in time for Easter, this delicious dessert idea is one the kiddos and adults alike will love.
♥♥ When you’re done spring cleaning, this is a unique way to decorate your newly cleaned shelves.