DIY: Flocked Christmas Tree
Last year we decided our poor little Christmas tree we had for over eight years (crazy right?!) was ready to be retired. My cat had decided it was no longer our Christmas tree but her playground. The metal rods that held the branches were starting to bend (thanks Chanel) and it kind of lost the pretty Christmas look. Fast forward to the end of October and it occurred to me that we had not purchased a new one for this year and there was a month left until we put up our Christmas decor. Panic mode set in as I did not want to settle for just any tree; I had something particular in mind, something of the flocked variety and I needed to find it.
Well, I was in luck when I was strolling through Michael’s recently and came across a beautiful 7.5 foot, flocked tree, and then I saw the price tag, um, hello! It was gorgeous but I couldn’t justify spending over $300 on a faux tree, especially since I have so many other things I am saving for right now, so I walked away feeling super bummed. But I never allow that feeling to stick around for too long. I decided there was a way I could turn an artificial tree into something just as beautiful, so naturally I did my research and found out how to flock a tree for a fraction of the cost. Keep reading to learn how you can do this for your tree as well!
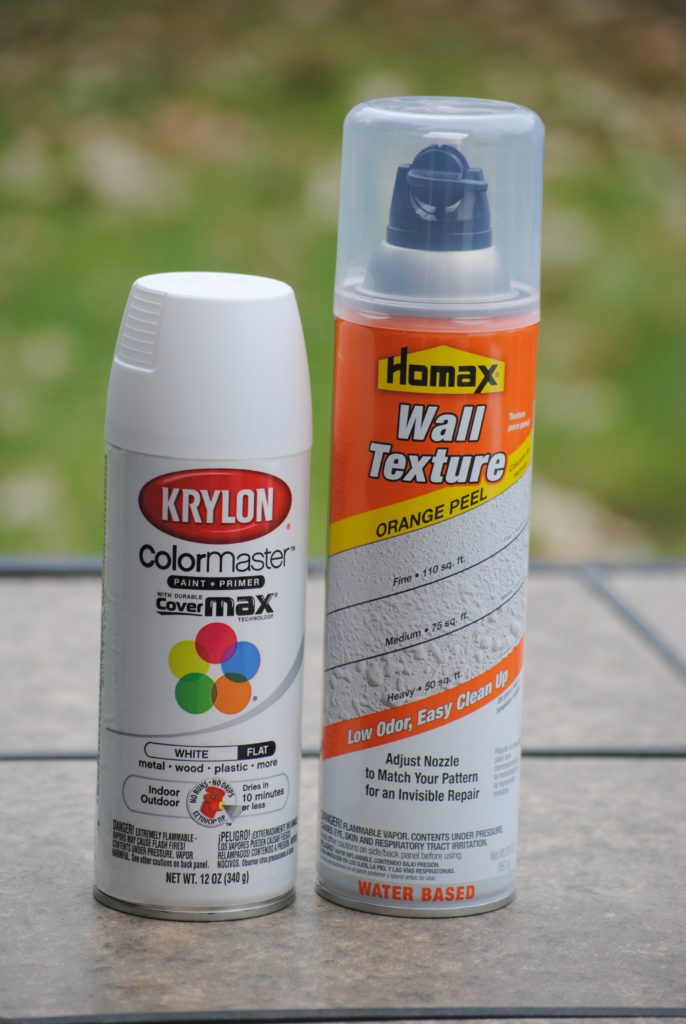
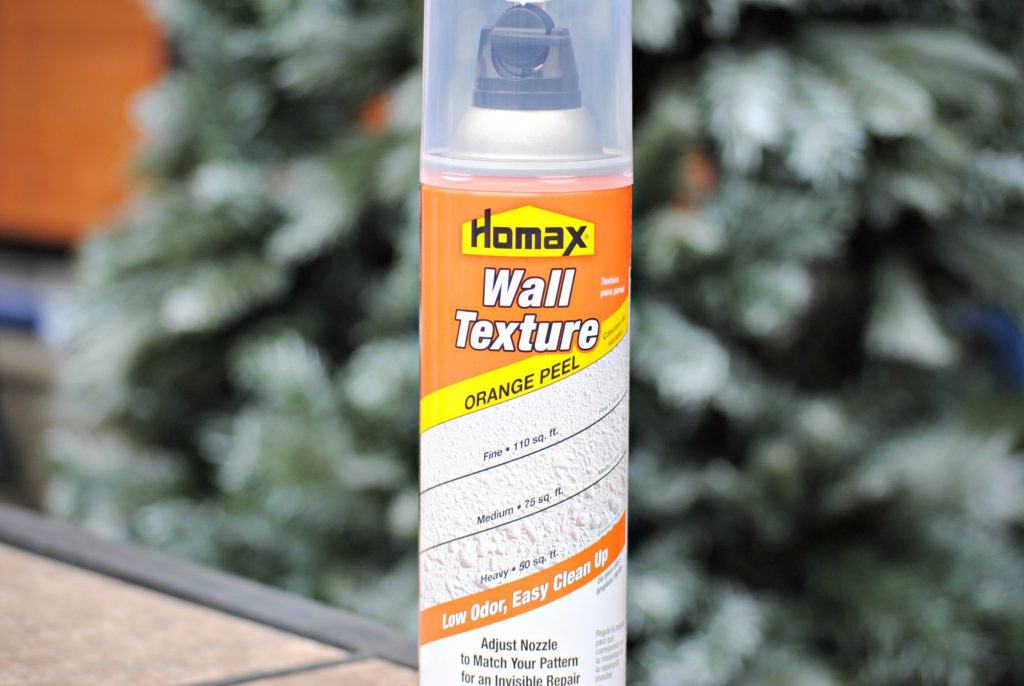
First, you will need 1-can of white spray paint, 1-can of wall texture spray, an old sheet and the tree.
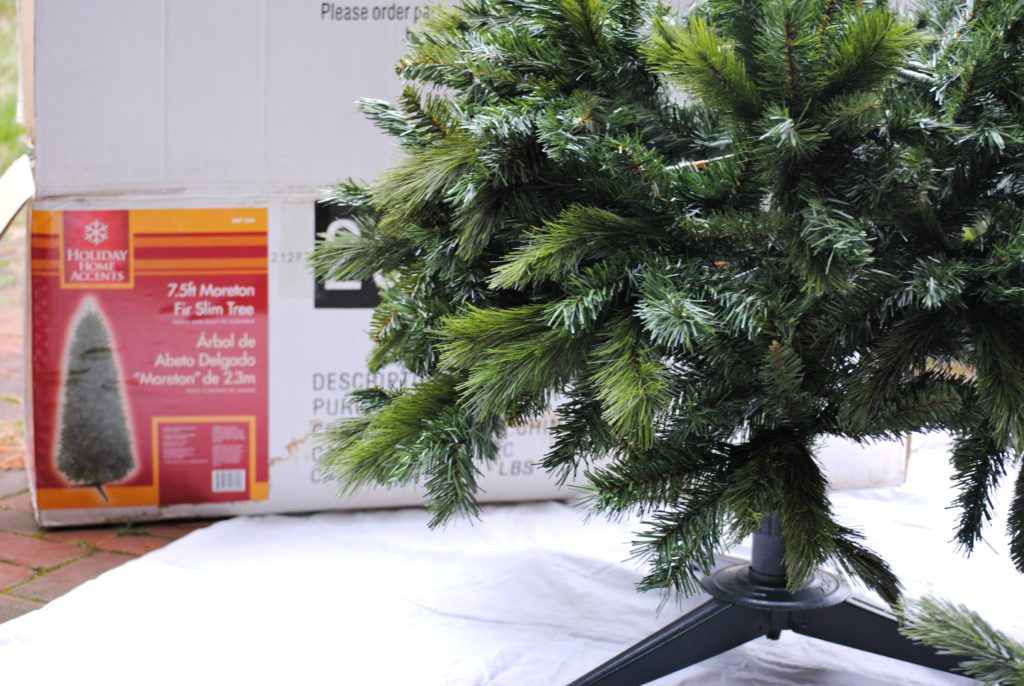
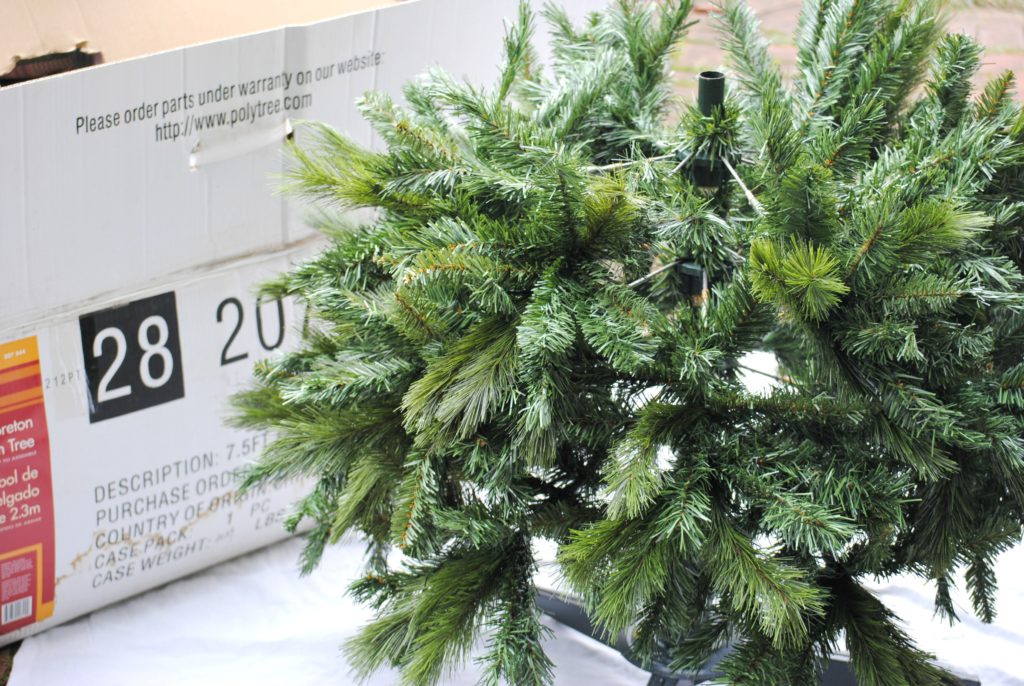
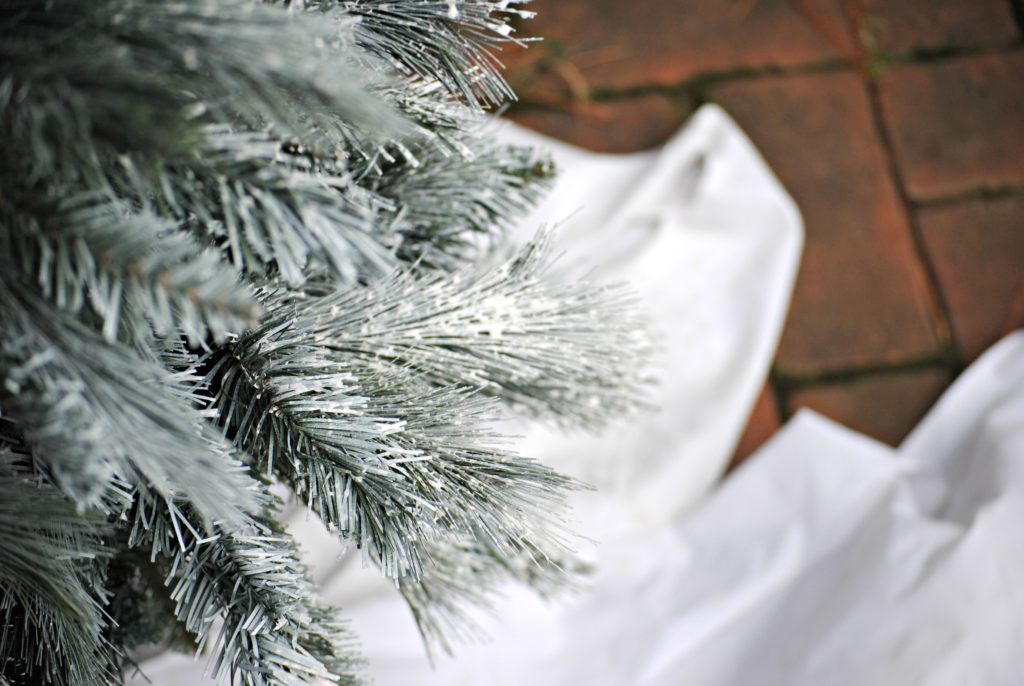
Lay down your old sheet and then set up the bottom portion of your faux tree.
Be sure your branches are spread apart nicely. You will want the spray to rest naturally on each branch when you start spraying so be sure not to skip this step!
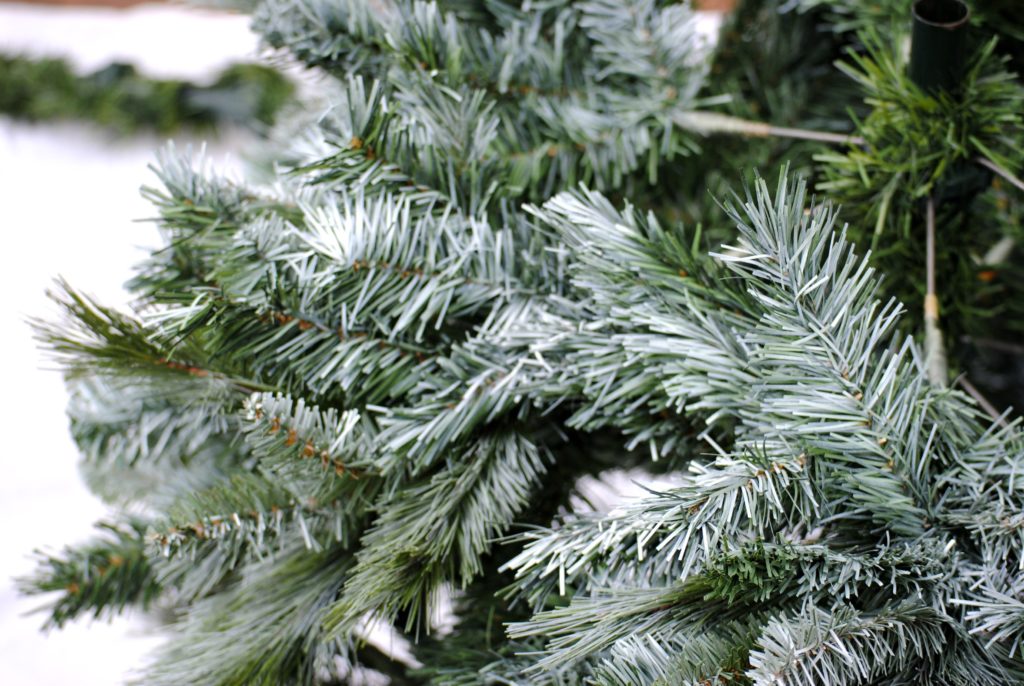
Shake your spray paint vigorously and begin spraying. Since snow does not land on trees evenly, you don’t need to make the spray paint do that either. I found that by holding the can above the branches and spraying down and outward towards the tips of the branches, it coated them beautifully (see above).
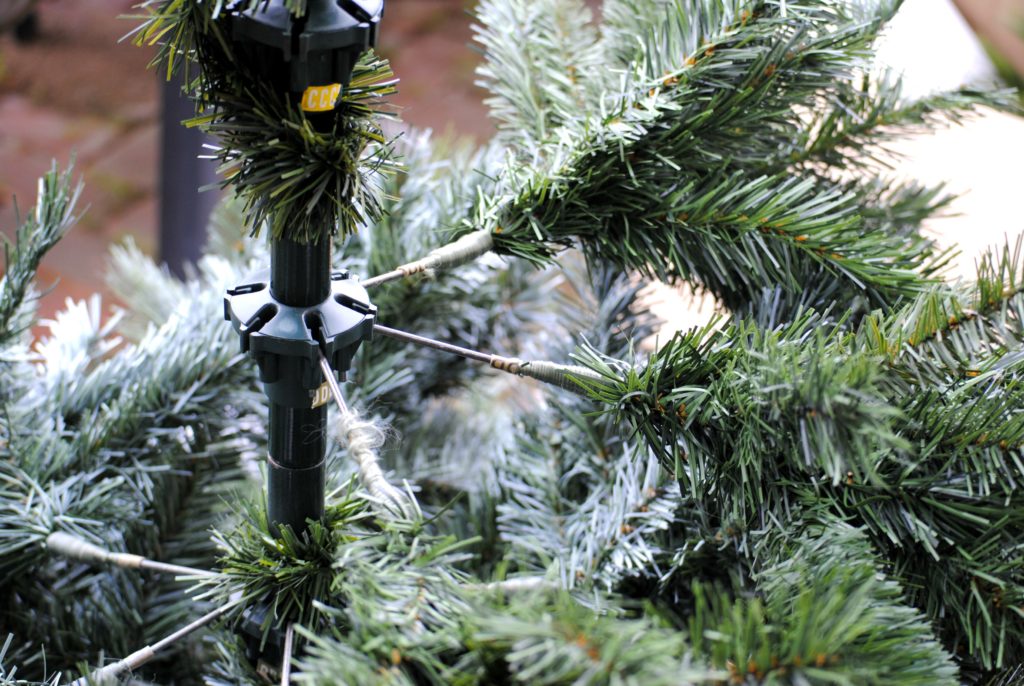
After you spray the base branches, begin adding the next layer. these tree branches had to be individually placed, so I added a layer, separated the branches and then sprayed. Continue this all the way to the top of the tree.
I decided that I was going for a softer white look, almost that of a blue spruce. I figured that once I added the texture spray it will add more white.
Be sure to read the directions on this! It is imperative that you shake it vigorously for one minute. Also, be sure to purchase a can that has a fine mist setting. You will want to use that setting for this project.
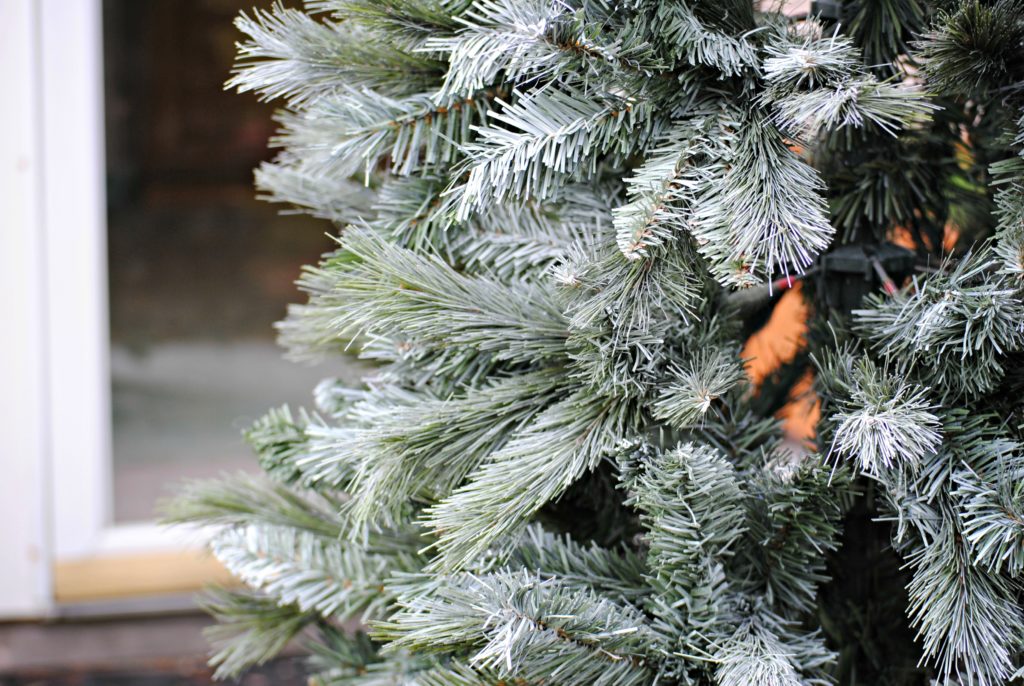
Once you begin spraying the texture spray, use the same method of spraying from above. This helps the spray to land as natural as possible. This is also where the old sheet really comes into place as this part can get a bit messy. Continue this all the way up the tree. I used the ENTIRE can of texture spray on this 7.5 foot tree.
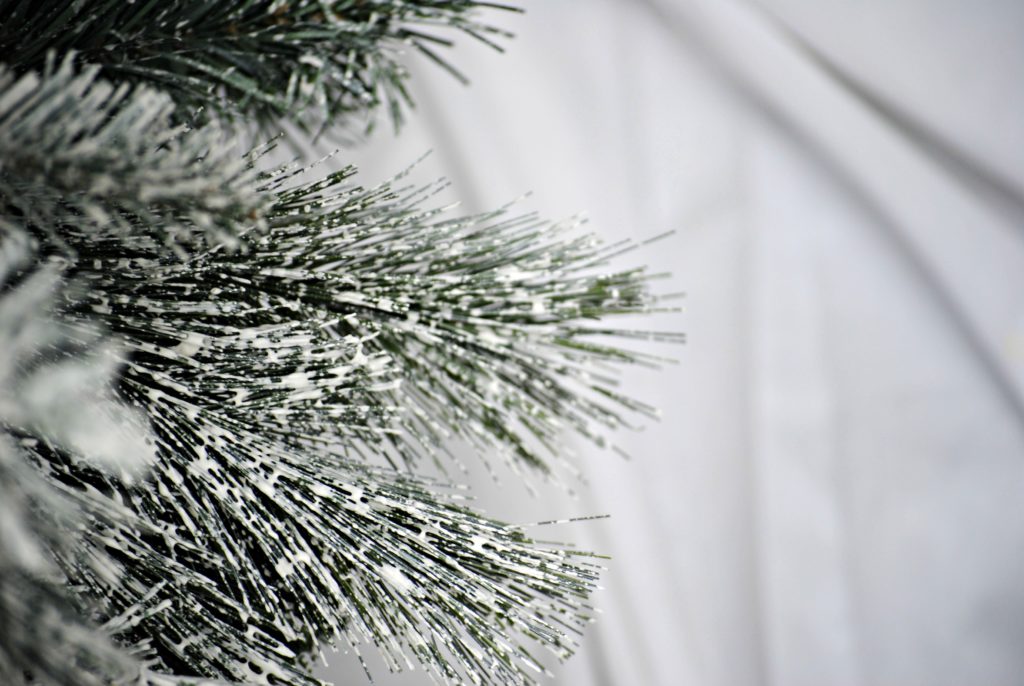
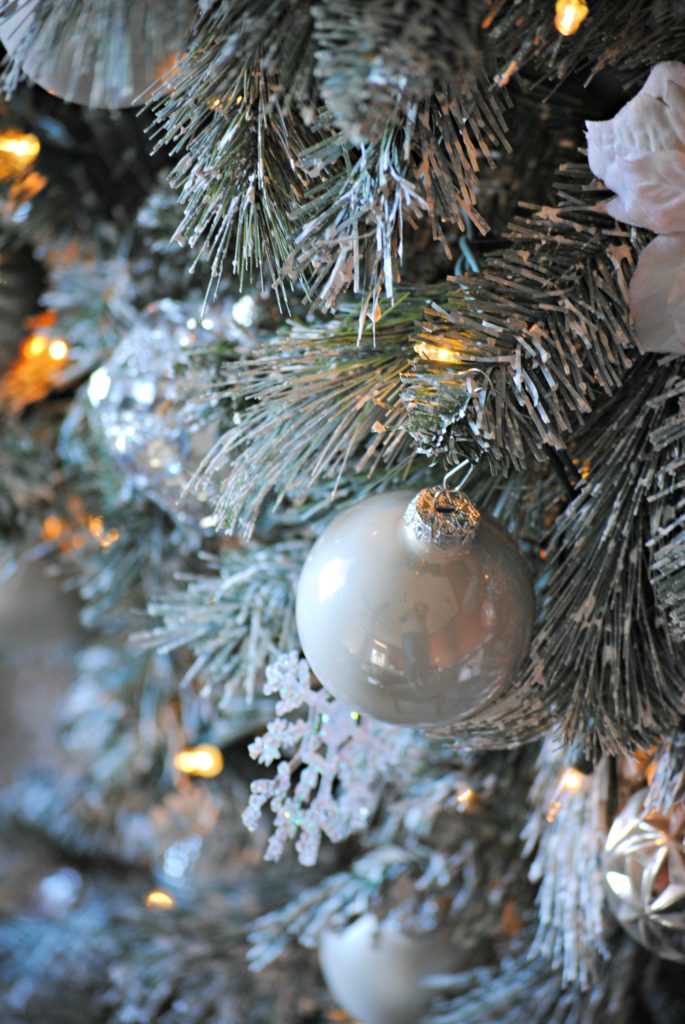
Here’s an up close view of the spray on the branches.
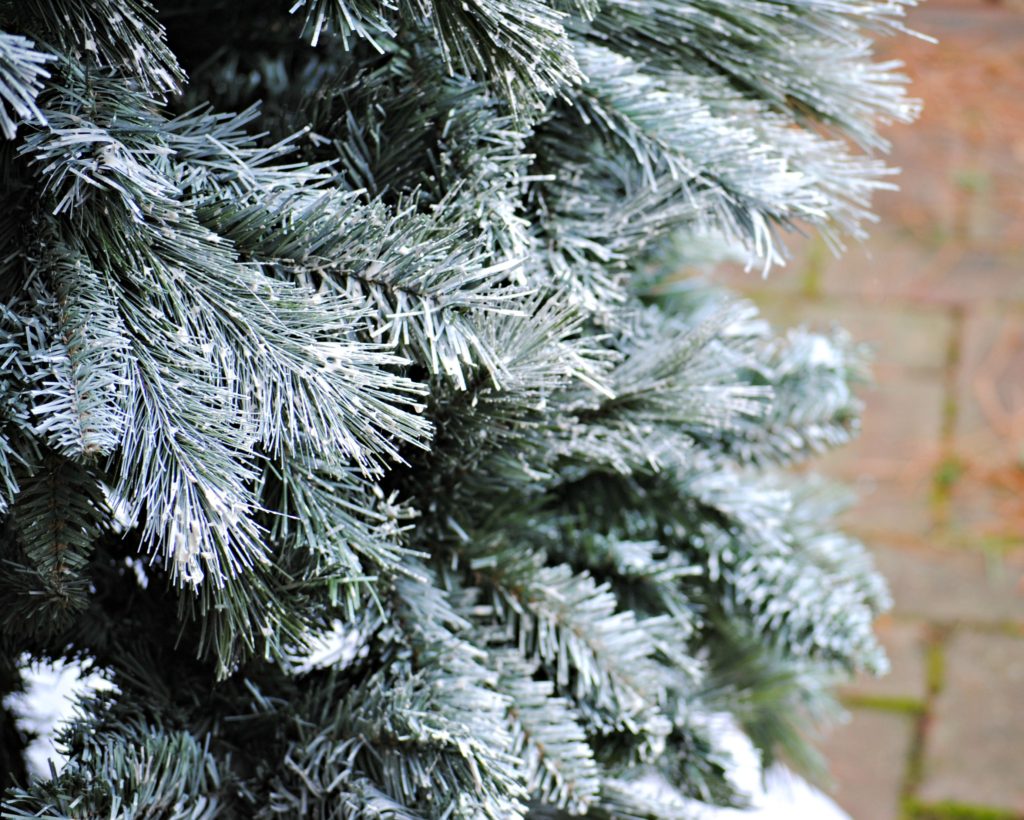
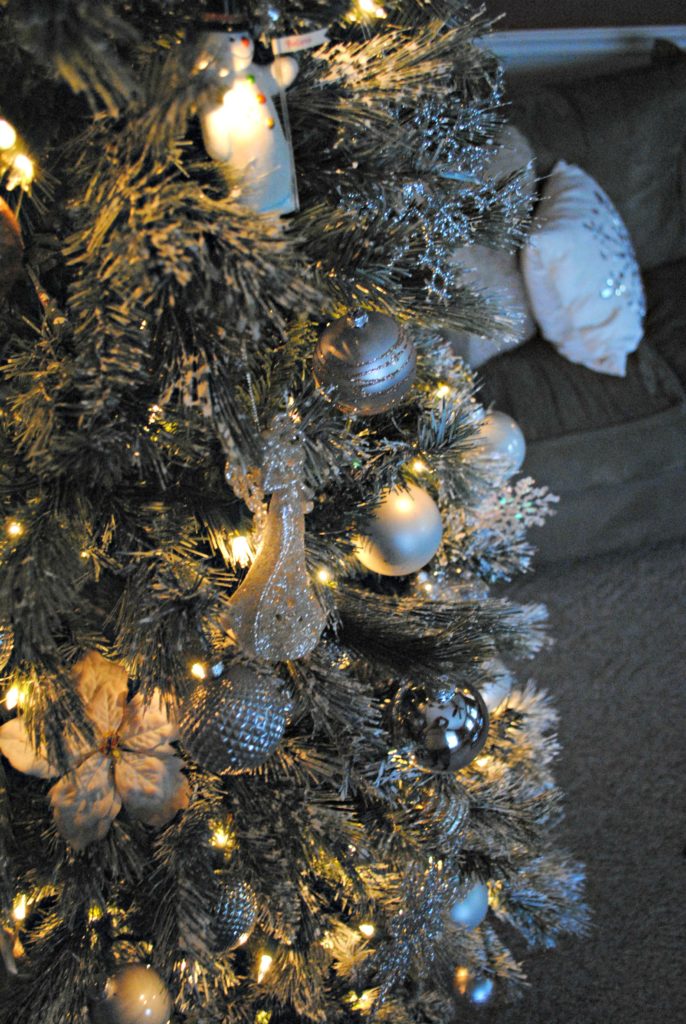
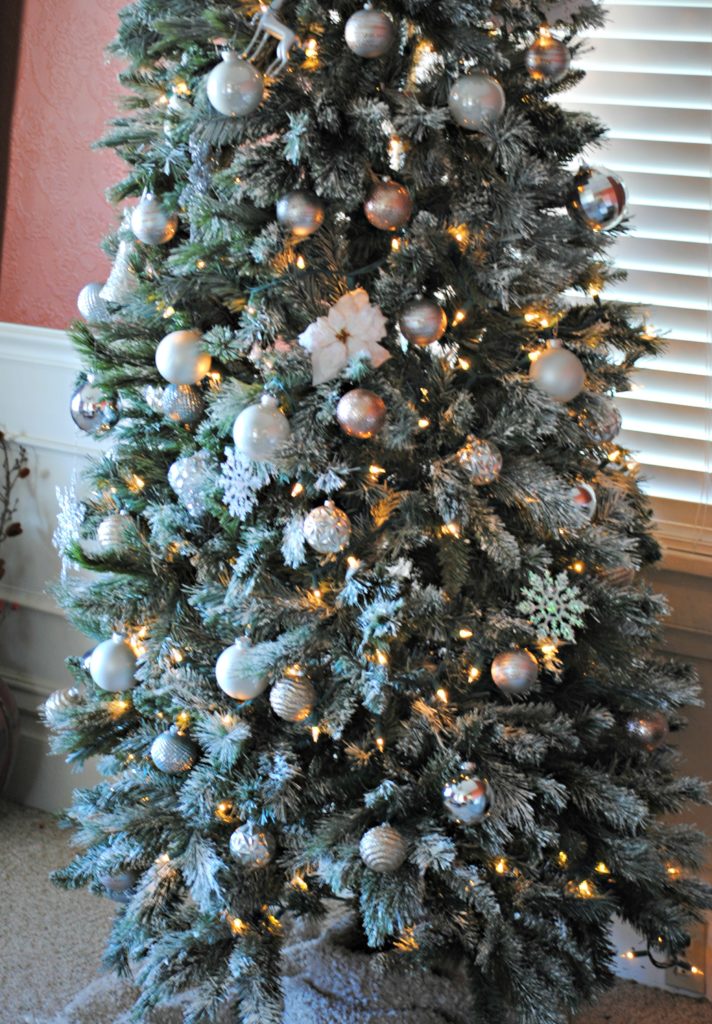
I have to say, I am very happy with how my DIY flocked tree turned out. I feel good to knowing I saved over $300 too!
